A data center move puts every piece of hardware you own on the table at once. Some of it travels to the new site and goes back into production. Some of it gets refurbished and redeployed. The rest reaches the end of its useful life and needs to leave your custody in a way you can prove later.
That last category is where relocations quietly go wrong. Teams map out the transport in detail and treat asset disposition as an afterthought. Drives leave the building without a wipe. Serial numbers stop matching the records. Retired gear sits on a loading dock with no clear owner.
This checklist keeps the hardware decision at the center of the move. It breaks the project into three phases and walks through the tasks for handling enterprise IT assets at each stage, from the first inventory to the final certificate of data destruction.
Key Takeaways
- Sorting every asset into relocate, refurbish, remarket, or recycle early in the project shapes the entire move and reduces what you transport.
- Chain of custody and certified data destruction protect the organization long after the relocation is finished.
- Retired hardware often holds resale value, and recovering it can offset a meaningful share of the relocation budget.
What is Data Center Relocation?
Data center relocation is the process of moving an organization’s IT infrastructure to a new facility. It covers the physical move of servers, storage, and network equipment, along with reinstalling that hardware, validating systems, and restoring production services.
The terms data center relocation and data center migration get used interchangeably, though they describe different work. Relocation is about the physical IT environment moving to a new location. Data migration is about transferring digital data between storage systems, applications, or cloud platforms. A relocation often includes data migration. You can also migrate data without relocating a single rack.
Organizations relocate for practical reasons. Rapid growth outpaces the capacity of an existing site. Aging infrastructure drives up maintenance costs and drags on reliability. Other moves are about consolidating facilities, cutting latency by getting closer to users, or upgrading to a site with room to scale.
Whatever the reason, a relocation forces a decision about every asset in the room. Handling that decision well is what separates a controlled move from a costly one.
3-Phase Data Center Relocation Checklist
Data center relocations are easier to manage when broken into phases. This checklist covers the essential tasks before, during, and after the move, with the fate of each asset treated as a first-class part of the plan.
Phase 1: Assessment and Inventory

Before planning the move, assess and document everything. This phase builds an accurate record of the hardware you own and decides what happens to each piece of it. Those decisions drive every step that follows.
Here are items to include in the checklist at this phase:
- Inventory every server, storage device, and network switch. Record the make, model, and serial number for each unit. Note where it sits in the rack, how much power it draws, and where it stands on warranty. Run an automated discovery scan alongside the physical walk-through to catch assets that fell off the books.
- Sort every asset into relocate, refurbish, remarket, or recycle. Not everything in the rack belongs at the new site. Relocate the gear that still fits the workload and has support life left. Refurbish units that need a drive swap or memory upgrade before redeployment. Remarket assets you no longer need that still hold resale value. Recycle hardware that has reached end of life.
- Verify asset records and serial numbers. Walk the floor and match each serial number against the inventory. Reconcile the physical count with your asset management platform and the discovery scan. This matters most for the assets you plan to retire, since an untraceable drive is a gap in your audit trail.
- Catalog applications, workloads, and data. List every application, database, and storage volume in the environment. Classify each workload by business criticality and data sensitivity so you know which drives carry regulated data.
- Map application, server, and network dependencies. Link every application to its supporting databases, storage, and integrations. Document the startup and shutdown sequences for business-critical workloads.
- Audit the existing network infrastructure. Capture IP addressing, VLANs, routing, firewall rules, and physical cabling. Consolidate network diagrams and configuration files into a single repository.
A complete assessment removes guesswork before anything moves. With an accurate inventory and a decision made for every asset, the next phase can focus on the logistics of getting hardware safely to its destination or its disposition path.
Phase 2: Planning and Logistics

With the assessment complete, build the relocation plan. This phase prepares the destination site, protects the data on every drive in transit, and sets up the tracking that regulated environments demand.
The following are the critical checklist items to include in this phase:
- Validate the destination facility. Verify rack capacity, power, cooling, and redundancy before equipment arrives. High-density deployments may need liquid cooling or specialized thermal containment.
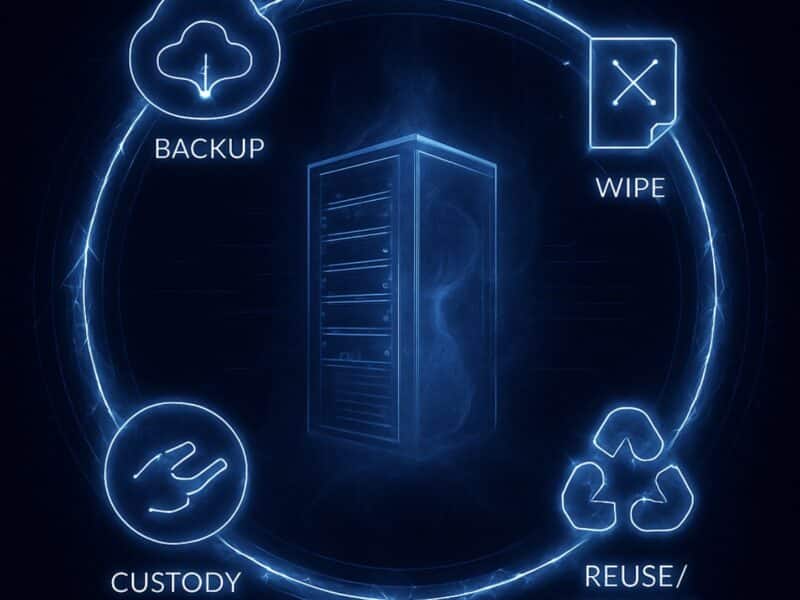
- Back up critical data before anything is unplugged. A relocation introduces physical risk that normal operations never see. Verify each backup, since one you have not tested is a guess. Store at least one copy offsite so a transport incident cannot take out the original and the backup together.
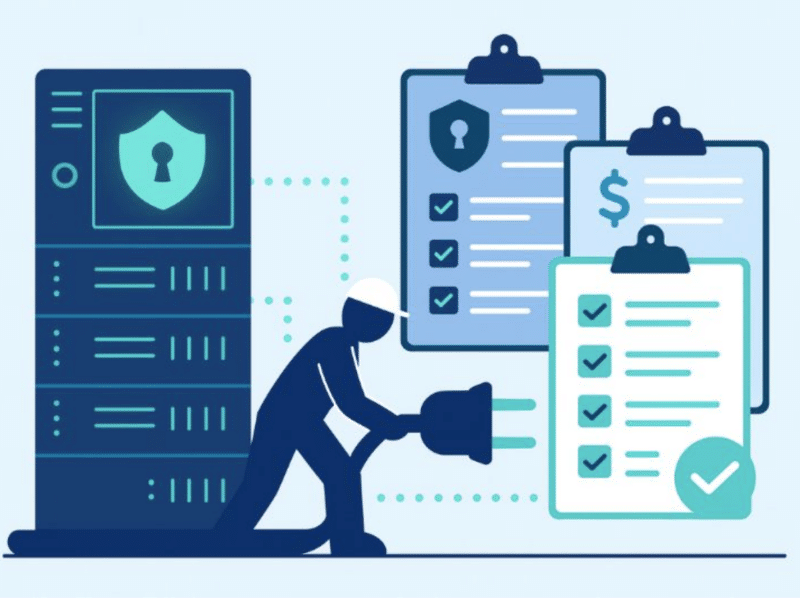
- Plan the chain of custody. Decide how you will log who handled each asset and when, from the moment it leaves the rack to its final destination. Barcode or RFID tracking holds up far better than paper logs on a busy loading dock, and for regulated data this record is often the first thing an auditor asks to see.
- Plan value recovery for retired hardware. Work out the recovery plan before the equipment leaves the building. A remarketing partner can assess resale potential on recent-generation servers and storage, and the return often covers a meaningful share of the relocation budget.
- Develop the network migration plan. Cover IP addressing, VLANs, DNS changes, and connectivity. Last-minute network changes are much harder to troubleshoot once production systems are offline.
- Document access routes and label every connection. Measure loading docks, doorways, and freight elevators before transport begins. Give each cable a unique identifier at both ends, and label each device with its serial number and where it is headed.
- Build the migration schedule and rollback plan. Include maintenance windows, go/no-go checkpoints, and rollback criteria. The rollback plan should state when to abandon the move and how to restore services at the original site.
- Coordinate vendors and communication. Confirm availability for hardware suppliers, colocation staff, and remote hands teams. Document escalation contacts and tell every stakeholder when systems will be unavailable.
Careful planning reduces the risks that surface on relocation day. Once logistics, tracking, and contingencies are in place, the project can move into the physical relocation with far more control.
Phase 3: Set-up and Post-Migration

At this stage the physical work begins. This phase moves the hardware, restores production, and closes out the retired assets with the documentation that protects the organization later.
- Shut down systems in the documented sequence. Power down applications before the databases and infrastructure they depend on. Give servers and networking gear time to cool before removing them from the rack.
- Package and transport equipment securely. Use anti-static wrapping and shock-absorbing material for every unit. Shock and tilt indicators on high-value equipment flag rough handling before you unbox a damaged asset. Climate-controlled transport protects gear moving through extreme heat or humidity.
- Install equipment according to the rack plan. Match rack elevations, cable routing, and power distribution to the deployment plan from Phase 1.
- Restore services in dependency order. Bring core infrastructure online before databases, middleware, and business applications. Follow the documented startup sequence rather than powering on everything at once.
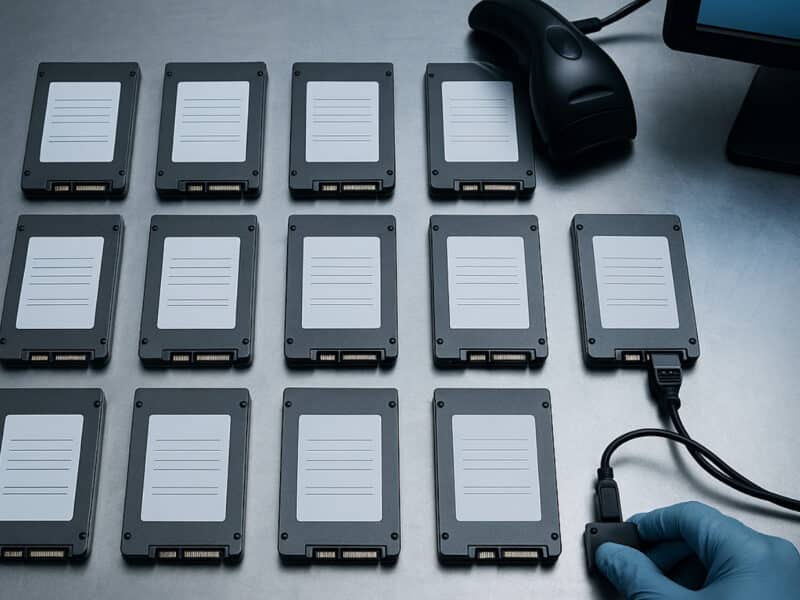
- Sanitize drives that won’t be redeployed. Any drive not traveling back into production needs to be wiped before it leaves your custody. Follow a recognized standard such as NIST SP 800-88. Cryptographic erasure and overwriting suit drives that will be reused or resold. Physical destruction is the safe call for failed drives or media you cannot verify. Require a certificate of data destruction for every sanitized asset, tied to its serial number.
- Validate system functionality. Test network connectivity, storage access, application availability, and user authentication before releasing production workloads.
- Verify security and compliance controls. Review firewall policies, access permissions, and monitoring tools after the move. Regulated environments may also need physical security checks before returning to normal operations.
- Generate documentation for relocated and retired assets. For relocated hardware, update DCIM records, rack layouts, and asset inventories to match the new environment. For retired hardware, keep the chain of custody log, the certificate of data destruction, and the recycling or resale paperwork together in one record.
- Monitor performance after the move. Treat the first 72 hours as an observation period for latency, hardware alerts, and unexpected application behavior. Trends over these hours often reveal issues that initial validation misses.
- Decommission the original environment:Any retired hardware should undergo secure data erasure before being disposed of by a certified ITAD provider. Complete the facility exit by removing remaining equipment and closing outstanding contracts.
Once systems are stable and documentation has been updated, the relocation can be formally closed and transitioned into normal operations.
Benefits of Working with a Data Center Relocation Specialist

A checklist gives you the plan. Executing it across hundreds of assets under a deadline is where specialists earn their place.
The clearest gain is on the ITAD side. A specialist handles data sanitization to standard, issues certificates of destruction, and maintains the chain of custody that regulated environments demand. Your internal team stays focused on restoring production systems instead of wiping drives on a loading dock.
Specialists also improve visibility before the relocation begins. Automated discovery tools often uncover undocumented hardware and inactive assets missed during manual audits. Resolving those issues early makes relocation planning more accurate.
Moving enterprise hardware introduces risks that standard freight handling is not designed to address. Storage systems and network equipment are particularly vulnerable to vibration, static electricity, and temperature fluctuations. That’s why specialist providers use anti-static packaging, shock protection, and climate-controlled transport when needed.
Insurance is another area where specialist providers differ from standard carriers. Many offer coverage based on the replacement value of enterprise equipment instead of basic freight liability. That provides far greater protection for high-value infrastructure during transit.
With specialists, support often continues after the relocation. Many providers coordinate equipment deliveries and assist with system restoration. Others offer certified IT asset disposition services for retired hardware. These added advantages help centralize operations, which is essential for ensuring data security.
Conclusion
A data center relocation is really a series of decisions about what happens to each asset you own. Breaking the move into three phases keeps those decisions organized from the first inventory through the final certificate of data destruction.
The risks that sink relocations almost always trace back to disposition planning that started too late. Missing data, untraceable assets, and unrecovered value are symptoms of the same gap.
Reconext helps organizations run secure, accountable relocations, from asset disposition through value recovery. Contact Reconext to start planning your move.
FAQs
What is a data center relocation checklist?
A data center relocation checklist is a structured plan for moving enterprise IT hardware to a new facility. It breaks the project into phases, from assessment and inventory through planning, setup, and post-migration validation, with data sanitization and asset disposition built in.
How is relocation different from data migration?
Data center relocation moves physical IT infrastructure to a new site. Data migration transfers digital data between storage systems, applications, or cloud platforms. A relocation project may include moving servers and storage to a new facility. Data migration can happen entirely between platforms without any hardware leaving the room.
How long does a data center relocation project last?
Most enterprise data center relocation projects take between six and twelve months to complete. The timeline includes infrastructure assessments, project planning, facility preparation, equipment relocation, testing, and post-migration validation. Project size, system complexity, and downtime requirements all influence the overall schedule.
What is the difference between data center relocation and decommissioning?
Data center relocation transfers active IT infrastructure to a new operating environment, while decommissioning permanently retires it. Decommissioning includes secure data erasure, equipment removal, and responsible disposal or recycling through certified IT asset disposition services.