Retiring a machine without haunting your network
Servers don’t really die when you unplug them. They die when you erase their traces: the data, the credentials, the DNS entries someone forgot years ago. Miss a backup, skip a wipe, leave an account active, and that “dead” box can still cause outages, breaches, or fines.
This guide provides a detailed server decommissioning checklist that balances security, compliance, and value recovery. Done right, decommissioning routinely recovers resale revenue, cuts licensing/carry costs, and leaves you with audit-ready evidence your regulator will actually accept.
Key takeaway
A structured server decommission pays you to retire risk. Verified backups protect business continuity, certified erasure unlocks resale markets, and disciplined custody turns old gear into auditable assets. Every drive wiped and resold is revenue recovered, every server recycled through R2v3 channels is carbon emissions avoided. Done right, decommissioning offsets costs, strengthens ESG reporting, and proves that end-of-life can still generate measurable value.
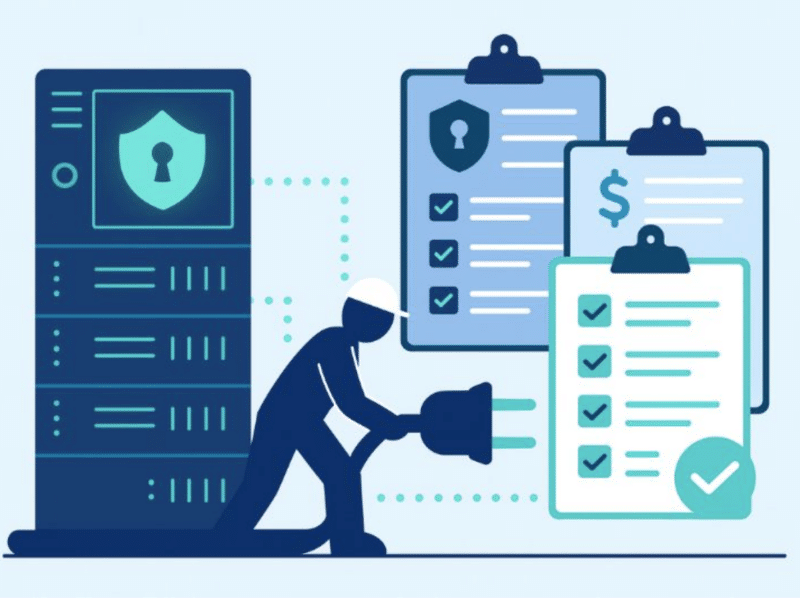
Inventory & documentation
A server is never just a box. It’s hardware tied to software, wired into networks, and often running jobs no one claims. Before powering down, you need a map of what it is and what it touches.
Start with the basics: make and model, CPU, RAM, storage devices, serials. This log anchors everything that follows. Then capture the software layer — OS, installed apps, and subscription or perpetual licenses. A missed license transfer can be as costly as lost data.
Don’t overlook network dependencies. DNS entries, firewall rules, ACLs, and integrations can still point to the server. Leave them in place and you’ll trip outages. Finally, check the human ties: admin accounts, service identities, and scheduled tasks. These ghosts have a way of returning after the hardware is gone.
A complete inventory gives you a baseline for audits, resale, and recycling. Only once you’ve untangled the dependencies can you start pulling cables safely.
Data backup & migration

Inventory shows you what the server is. Backups prove you won’t lose what mattered.
Sweep everything: databases, file shares, configs, and application states. Don’t assume backups exist; confirm them. Test a restore, run a checksum, and open the files. Until you know they work, you don’t have backups.
Then plan migration. Where’s the workload going — another rack, a cloud cluster, consolidation? The goal is continuity: cutovers so smooth the business barely notices. That means scheduling downtime, notifying stakeholders, and rehearsing if the workload is critical.
Downtime is expensive, often thousands of dollars per minute. Careful migration is as much a financial sense as technical diligence.
With the soul bottled safely, the vessel can now be cleaned.
Data wiping (erase before destroy)

This is where nerves kick in. The instinct is to shred everything, fast and final. But destruction by default is wasteful and still leaves you exposed if you can’t prove it.
Start with erasure. NIST SP 800-88 Rev.1 and IEEE 2883-2022 define how to sanitize drives: overwriting on HDDs, sanitize commands or crypto-erase on SSDs.
Proof is the real deliverable. Every drive should generate a serialized erasure report with model, serial, method, and result. Bonus if the tool is ADISA-tested, so you know the process works.
Some drives won’t pass. Bad sectors, failing controllers — when they fail verification, escalate to destruction. But that’s the exception, not the rule. Wiping first preserves resale value and aligns with R2v3 Appendix B.
With the data reduced to noise, the server is just hardware again. But how you move it still matters.
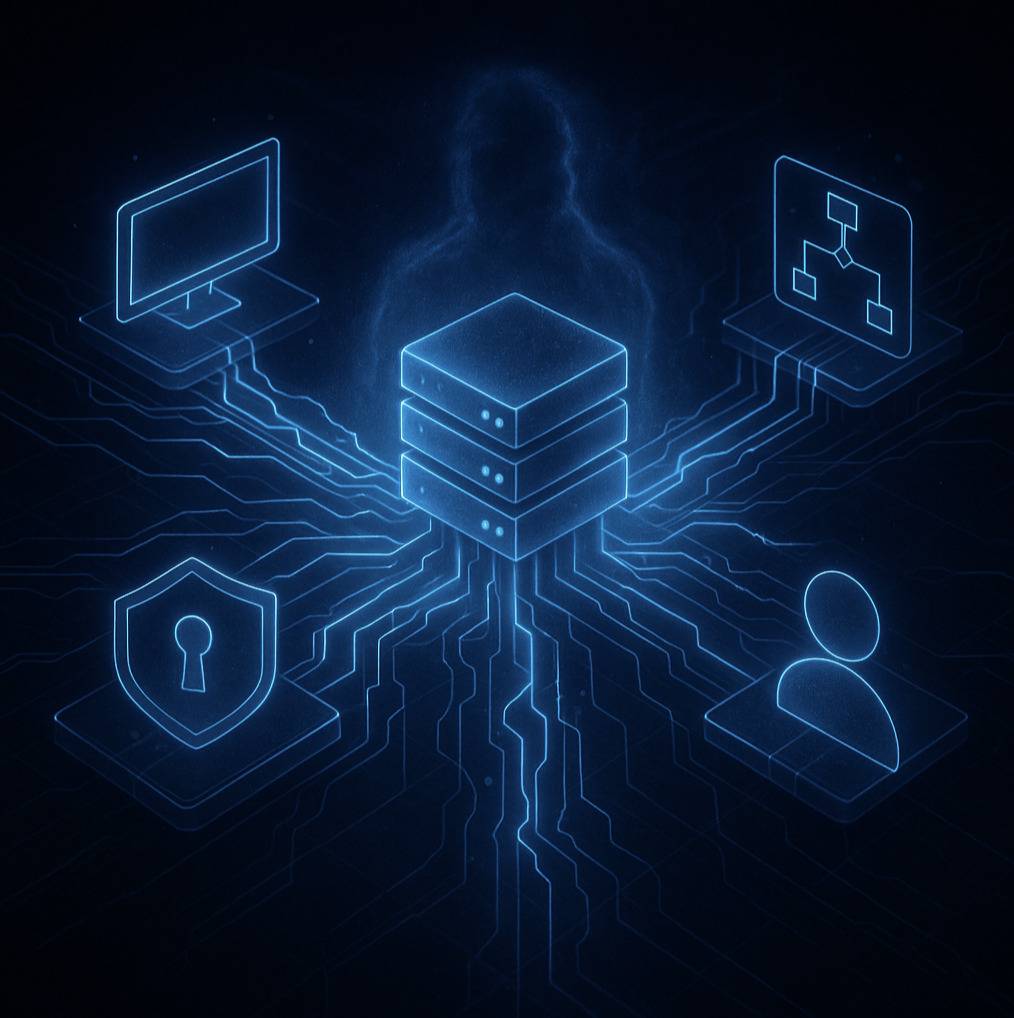
Hardware removal & chain of custody

Start with a proper shutdown. Vendors publish sequences for a reason: skipping them risks faults and alarms. Power it down, disconnect, then pull the plugs.
Every server should carry a serialized ID tied to your inventory. That tag follows it from rack to dock to facility. Without it, you can’t prove which asset is which.
Transport is part of the chain too: sealed containers, GPS-tracked vehicles if sensitivity requires. At any moment, you should be able to answer, “Where is this asset?”
Finally, close the loop with documentation. Certificates of Erasure or Destruction aren’t optional. They’re the proof auditors expect.
With the carcass free of data and free of its rack, the question becomes: live again, or dismantle?
Environmental disposal & recycling

This is the fork in the road: second life or dismantling. The choice matters for budget, compliance, and sustainability.
If viable, reuse or resell. Even when the chassis is outdated, parts like PSUs, memory, and SSDs retain value. A wiped drive might resell for hundreds; shredded, it’s worth pennies.
If reuse isn’t possible, recycle, but only through certified vendors (R2v3, e-Stewards, ISO 14001). Otherwise, you risk data-bearing gear ending up in the wrong landfill.
Ask for reporting: manifests, diversion percentages, recovered materials. These numbers prove your process isn’t just lip service and feed ESG reports.
Rule of thumb: reuse first, recycle second, landfill never. With hardware handled, there’s one last ghost: records and access.
Updating records & access

Servers die twice: once in hardware, once in records. If you don’t kill the second half, the ghost lingers, usually as a forgotten account or a dangling network reference. Those ghosts have a way of showing up later as outages or, worse, as data breaches.
Begin with the obvious: remove the server from your asset systems, such as CMDB entries, inventory registers, and monitoring dashboards. If it still shows as “active,” someone will assume it’s alive and try to use it.
Next, strip credentials. Local admin accounts, service identities, scheduled task logins, SSH keys — every one of them has to go. The same goes for Active Directory objects or cloud IAM entries tied to the machine. If they remain, you’ve essentially left a backdoor with no physical door attached.
Don’t stop at accounts. Clean out network dependencies too: DNS records, firewall rules, NAT entries, VLAN memberships. These are the digital fingerprints that keep other systems looking for a box that’s no longer there. Leave them in place, and you risk phantom failures downstream.
Finally, document it. Every removal, every revoked credential, every updated rule should live in your audit trail. When regulators or internal auditors come knocking, you need to show that you closed every digital loop attached to it.
This step feels invisible because nothing changes on the surface. But it’s the piece that prevents “retired” servers from haunting your infrastructure months later.
Once the ghosts are gone, all that’s left is to prove the ritual worked. That’s where verification comes in.
Verification & closeout

By now, the server is gone from the rack, wiped, and stripped from your systems. But in decommissioning, saying you did it isn’t enough. You need proof.
Assemble the proof package: erasure reports or destruction certs, custody logs, resale receipts or recycling manifests. These documents form a comprehensive log of what happened and help organizations maintain compliance during potential audits.
Cross-check against your original inventory. If a serial doesn’t match, or a drive shows up twice, that’s a problem. Closure means reconciliation of software licenses, hardware, and asset disposition records.
Store the proof package in immutable/WORM storage under your retention policy so it can’t be “edited” after the fact.
Finally, sign off. Capture lessons learned, archive the paperwork, and formally close the project. Without that, it never really ends.
And with the ritual complete, the only thing left is to remember what not to do next time.
Where teams get burned
Most decommissions fail not in the plan, but in the shortcuts. The same patterns keep showing up.
The first is shredding instead of wiping data. It feels safe, but without proof, it’s just a waste — lost resale value, missed hardware disposal opportunities, and no audit trail. Proper sanitization (NIST 800-88r1, IEEE 2883) with verifiable reports is always a key step.
The second is backup blindness. Too many teams discover too late that their “full backup” was corrupted or incomplete. Validation has to happen before the wipe, not after.
Credentials are another trap. Servers get retired, but Active Directory still thinks they exist. Those ghost accounts become backdoors that no one is watching, leaving your environment exposed to security vulnerabilities long after the hardware is gone.
Dependencies trip people, too. Skip the mapping step and you’ll find payroll jobs or backups pointing at a server that no longer lives. Downtime that costs thousands often hides in those forgotten ties.
Finally, custody sloppiness. A shared spreadsheet with serial numbers is not a chain-of-custody. Assets vanish, auditors pounce, and suddenly your compliance story falls apart.
None of this is exotic. They’re the boring basics, which makes it worse when teams ignore them.
Conclusion
Server decommissioning is about retiring risk. When you treat it as a structured process — inventory, backup, wipe, custody, reuse, revoke, verify — you don’t just avoid breaches and fines. You also preserve value, prove compliance, and keep your infrastructure clean of ghosts that love to linger.
Skip a step and you inherit liabilities. Follow the checklist and you close the loop with confidence.
Ready to retire servers without risk and with receipts? See Reconext’s Data Center Decommissioning Services.
FAQs
Start simple: inventory everything, back up and migrate the critical data, wipe drives to NIST 800-88r1 or IEEE 2883 standards, track custody like it’s forensic evidence, and then kill records and credentials. The trick isn’t knowing the steps; it’s turning them into a repeatable server decommissioning process you can prove later with accurate records.
Two matter most: NIST 800-88 Rev.1 (the U.S. baseline) and IEEE 2883-2022 (the global update for modern drives). Both outline the data wiping process required for maintaining data security and avoiding security risks. Beyond that, look at your vendor’s recycling certifications: R2v3, e-Stewards, ISO 14001. Those cover the proper disposal of IT assets and the environmental side of regulatory compliance, which regulators and ESG auditors increasingly care about.
A lone server? Hours. A full rack? Days. A data center? Weeks to months. The real variable isn’t the wipe cycle, it’s the prep: mapping network connections, scheduling cutovers, verifying a comprehensive backup, and planning data migration. The more you do upfront, the faster (and less painful) the retirement. Involving relevant stakeholders and IT staff during this entire process helps avoid unexpected issues and potential data loss.
There’s no flat rate. You’ll pay per drive or per server for erasure and transport, but you’ll also recover value if the gear is still viable. Hardware components like SSDs and memory modules, once securely wiped, can offset the bill — sometimes turning a cost center into break-even or better.
Best case: they get a second life through resale or redeployment. Worst case: they’re dismantled and recycled. Certified recyclers (R2v3, e-Stewards) strip metals and plastics for reuse, reducing electronic waste (e-waste) and ensuring sensitive information is properly disposed of. If your vendor can’t show you proof that data was securely wiped and equipment was handled with security measures, pick another vendor.